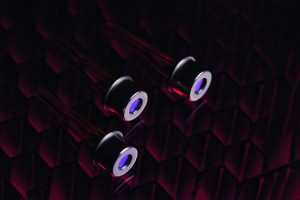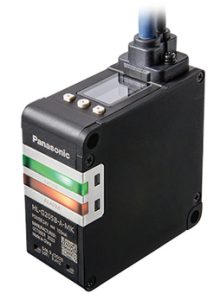
Unlike its earlier similar sensors, digital output devices in the new HL-G2 series include interfaces for both Ethernet and RS-485 in each unit, selected by the cable used to connect them to the host system.
They can communicate using EtherNet/IP, SLMP (seem-less message protocol), Modbus TCP or Modbus RTU.
There are five models measuring five overlapping distance ranges:
| Version | 30mm | 50mm | 85mm | 120mm | 250mm |
| Range | 25-35mm | 40-60mm | 65-105mm | 90-150mm | 100-400mm |
| Resolution | 0.5µm | 1.5µm | 2.5µm | 4µm | 15µm |
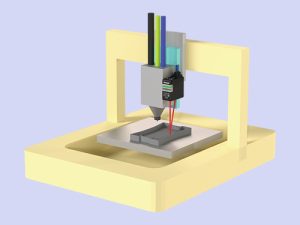 Operation is through a beam projected at a slight angle that is read by an image sensor via a lens system.
Partly responsible the high resolution, is that the output beam cross-section is a narrow line across the reading angle – 60μm x 2mm in the 50mm version, for example.
“The ‘line spot’ resists adverse effects caused by a metal surface,” according to the company. “HL-G2 series enables stable measurement without worries about fine surface irregularities of target objects.”
Linearity is : ±0.075% of full-scale, but improves to ±0.05% of full-scale over a more limited range – for example 45-55mm in the 40-60mm sensor. Temperature variation is 0.03% of full-scale per °C.
As well as five digital output models (HL-G2xxB-S-MK), there are five models with the same ranges but with analogue outputs (HL-G2xxB-A-MK).
On top of the housing is a dot matrix display to indicate various parameters including currently-measured distance. This can be switched between English, Japanese and Chinese characters.
For adjustment, there is a PC-based configuration tool with which “parameters can be set and simultaneously in multiple HL-G2 units”, said Panasonic. “Settings can be made in real time while confirming actual data.”
 Electronics Weekly Electronics Design & Components Tech News
